
Before installing a smart thermostat, you need to verify your wiring setup to guarantee compatibility. Identify your current wires, note their colors and terminals, and confirm they match the thermostat’s requirements. Check if you have a C wire for continuous power or if you need an upgrade or power extender kit. Understanding these details helps prevent issues and guarantees smooth operation. Keep going to discover essential tips for safe installation and making your system work seamlessly.
Key Takeaways
- Verify your existing wiring matches the thermostat’s terminal requirements before installation.
- Ensure the presence of a C wire for continuous power, especially for smart thermostats with Wi-Fi features.
- Identify and label all wires accurately to prevent incorrect connections and system malfunctions.
- Use wiring diagrams and terminal labels to confirm compatibility with your HVAC system.
- Turn off power and double-check wiring connections to avoid damage and ensure reliable operation.

ecobee Power Extender Kit C-Wire Adapter-ecobee Smart Thermostat Essential
- Easy C-Wire Replacement: Cost-effective Power Extender Kit for no C-wire homes
- Compatibility Check: Verify system compatibility on ecobee support page
- Model Compatibility: Included with all ecobee thermostats except Essential and Lite
As an affiliate, we earn on qualifying purchases.
As an affiliate, we earn on qualifying purchases.
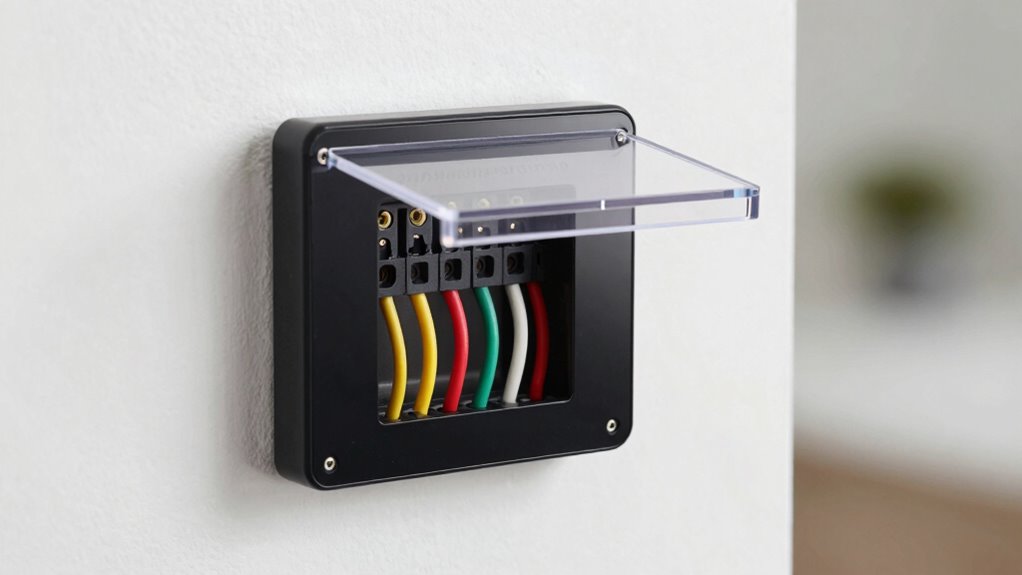
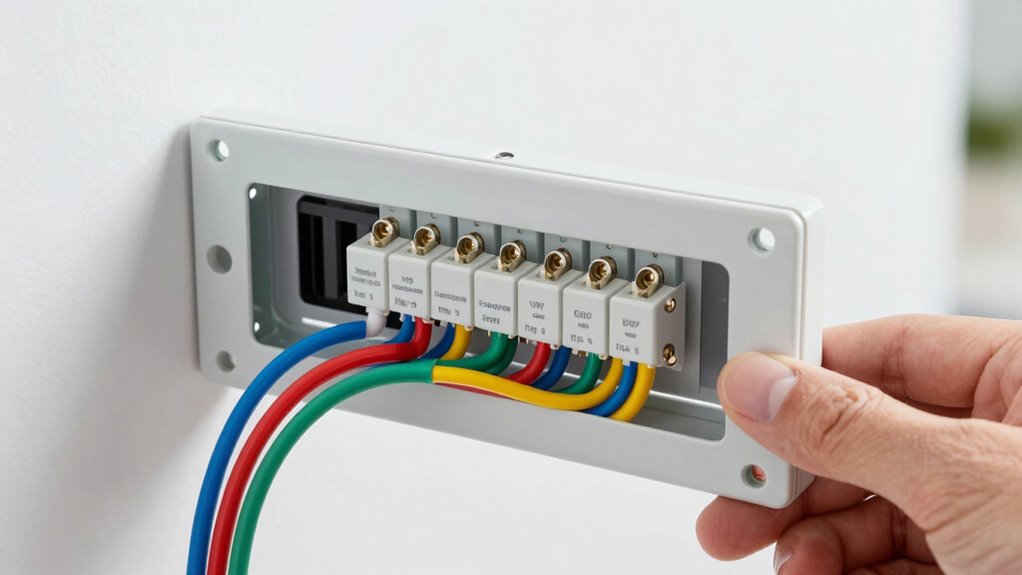
How to Check Your Current Thermostat Wiring Setup
Before choosing a smart thermostat, you need to understand your current wiring setup. Remove your existing thermostat and look at the wiring behind it. Identify the wires connected to each terminal, noting their colors and labels. Many smart thermostats are compatible with remote sensors, so check if your system supports additional sensors for better temperature control. Also, verify if your wiring allows Wi-Fi connectivity, which is essential for remote access and smart features. Some setups may have extra wires or specific configurations, so take detailed notes or photos. This step guarantees you select a smart thermostat compatible with your wiring and features like remote sensors. Proper understanding prevents installation issues and ensures your new device works seamlessly with your existing heating and cooling system. Additionally, reviewing your current wiring compatibility can help you avoid potential upgrade costs or the need for additional wiring modifications. To ensure optimal performance, consider the color accuracy of your existing system, as it can influence how well your smart thermostat integrates with your setup. Checking the wiring color codes can also provide insights into the system’s configuration and compatibility. Being aware of your system’s manufacturer specifications may also assist in selecting a compatible device and avoiding mismatched components. Furthermore, understanding the wiring complexity of your setup can help determine if professional installation is necessary.
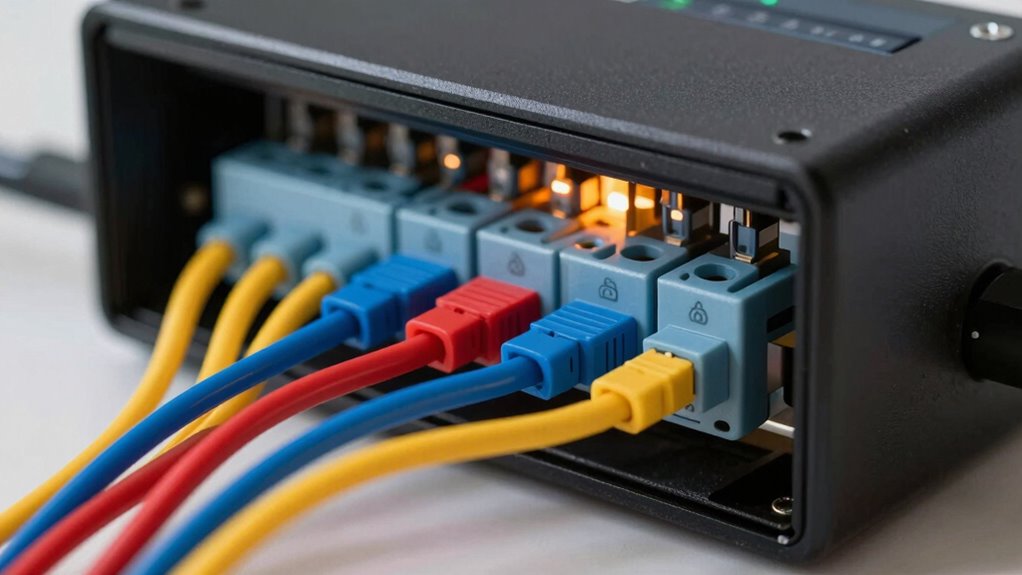
C wire adapter for smart thermostats
As an affiliate, we earn on qualifying purchases.
As an affiliate, we earn on qualifying purchases.
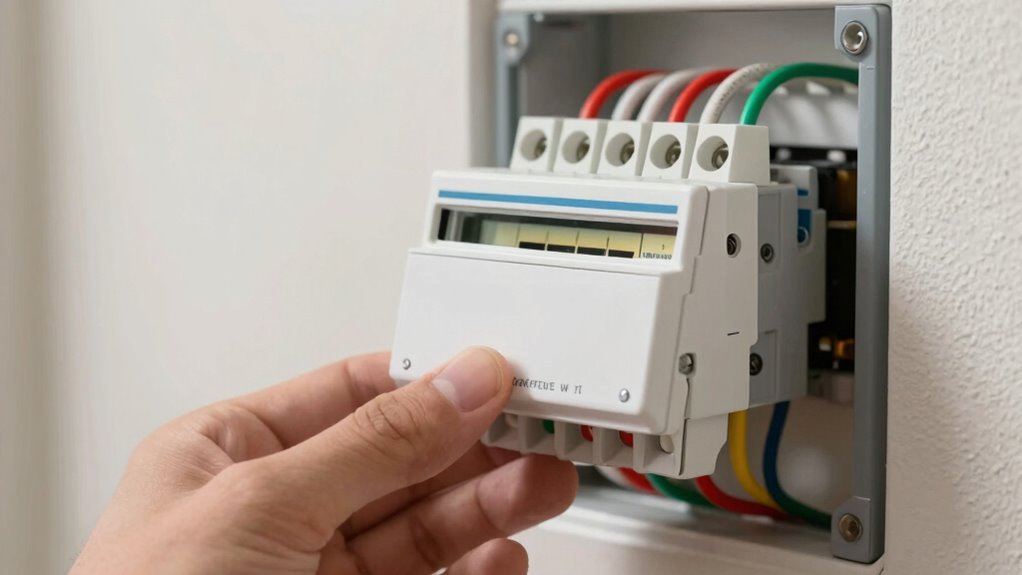
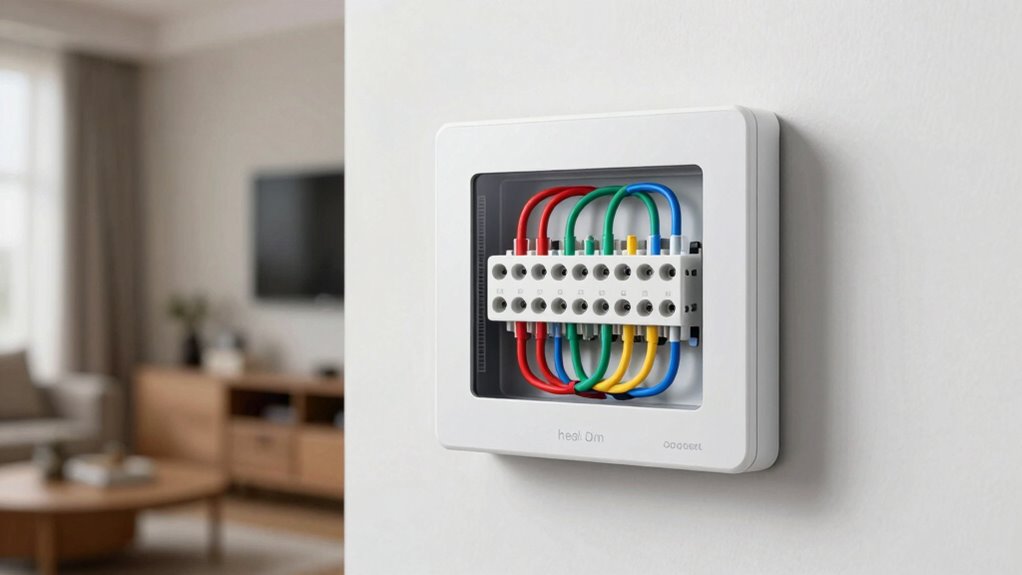
Common Wiring Configurations for Smart Thermostats
Understanding the common wiring configurations for smart thermostats can make your upgrade much smoother. Most setups include wires like R (power), C (common), W (heat), and Y (cooling), which connect to your HVAC system. Many smart thermostats support wireless integration, reducing the need for multiple wires, but you still need compatible wiring for power and control. Some models require a C wire for continuous power, while others can work without it using power-stealing technology. The user interface of smart thermostats often adapts to different wiring setups, making installation easier. Be aware that wiring variations may impact functionality, so verifying your system’s configuration guarantees compatibility. Knowing these common configurations helps you select the right thermostat and avoid connection issues during installation. Additionally, understanding household wiring can help troubleshoot potential compatibility problems more effectively. Furthermore, recognizing standard wiring practices can assist in ensuring your system is correctly configured before installation. Being familiar with HVAC system wiring can also help prevent common mistakes during setup, especially when considering backup power options for continued operation during outages.
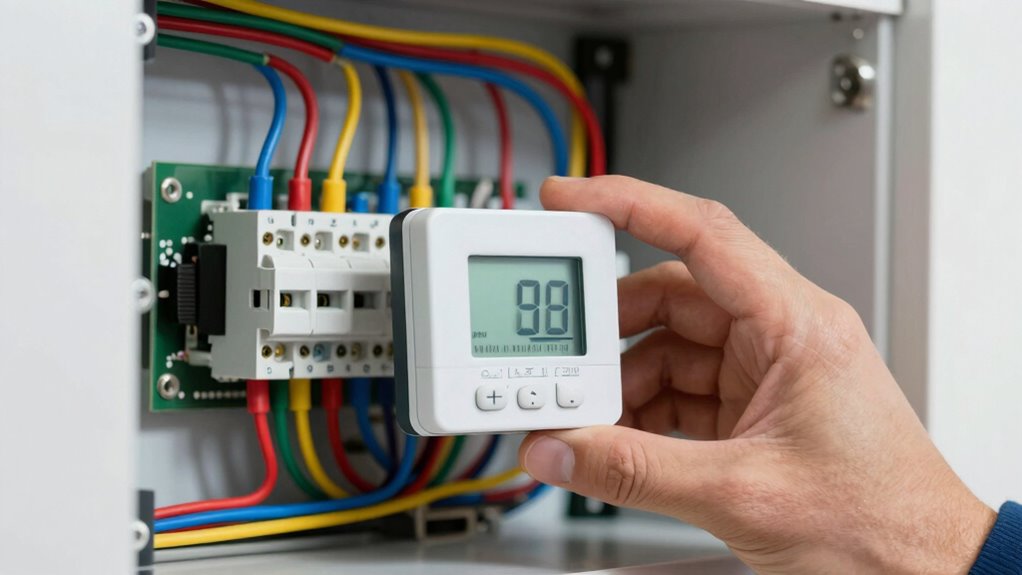
smart thermostat compatible wiring
As an affiliate, we earn on qualifying purchases.
As an affiliate, we earn on qualifying purchases.
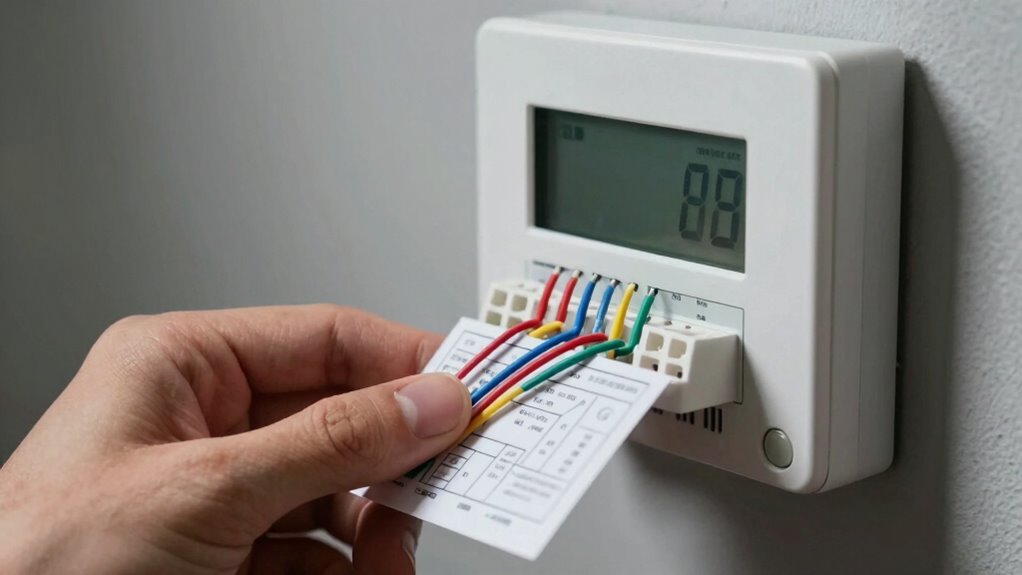
How to Identify and Match Your Wiring Terminals
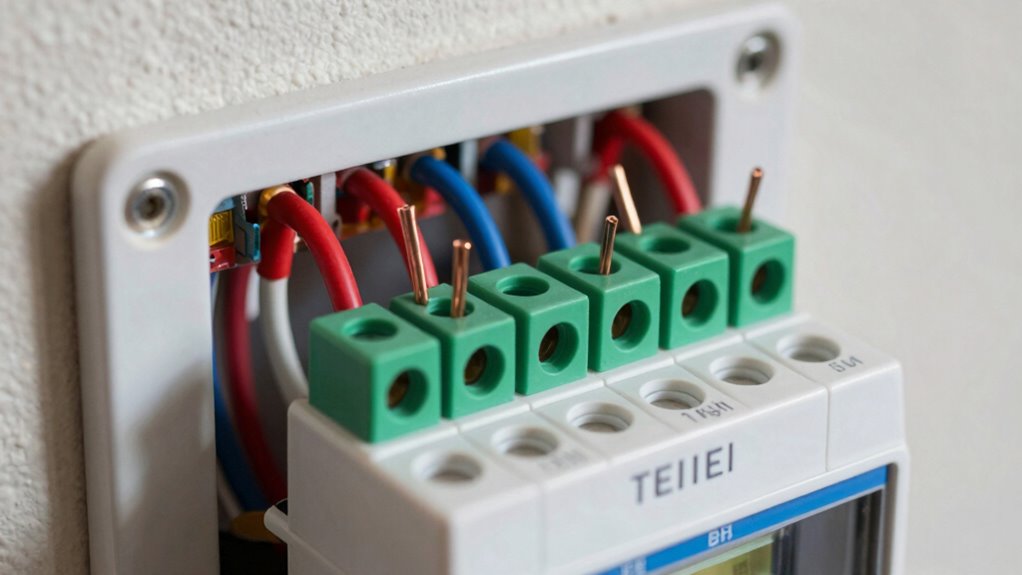
To guarantee your smart thermostat connects correctly, start by recognizing common terminal labels like R, W, Y, and G. Next, match each wire to its corresponding terminal carefully, avoiding any guesswork. Before wiring, double-check that your thermostat is compatible with your existing system to prevent potential issues. Additionally, understanding home wiring basics can help you troubleshoot and ensure a secure connection. Being aware of electrical safety protocols is also crucial to prevent accidents during installation. Familiarizing yourself with water-resistant and quick-drying materials used in outdoor settings can further ensure safe and reliable operation of your system in varying conditions. Knowing how to identify and work with standard wiring practices can also make the installation process smoother and safer.
Recognize Common Terminal Labels
When working with a smart thermostat, recognizing common terminal labels is essential for proper wiring. These labels guide you in connecting wires correctly, ensuring your thermostat functions as intended. Look for familiar labels like R or Rh for power, W or W1 for heating, and Y or Y1 for cooling. Some thermostats use C or Com for common wires, which often supply continuous power. Understanding these labels helps you perform temperature calibration more accurately via the user interface. By accurately identifying terminals, you prevent wiring errors that could affect system performance or damage your equipment. Take your time to compare your wiring with the thermostat’s terminal layout; clear labels are your best guide to a safe, effective setup. Recognizing standard wiring practices can also help troubleshoot potential issues more efficiently, especially when considering outdoor and landscaping elements that may influence wiring accessibility or placement.
Match Wires to Terminals
Matching your wires to the correct terminals is a crucial step to guarantee your smart thermostat functions correctly. Start by identifying each wire’s color, as it often indicates its purpose—red for power, white for heat, and green for cooling. Next, refer to the terminal labels on your thermostat base; they provide clear guidance on where each wire should connect. Carefully match the wire color to its corresponding terminal label, ensuring each connection is secure. If your wires lack color coding, use the labels on your old thermostat or consult your system’s wiring diagram. Properly matching wires to terminals prevents setup errors and ensures your smart thermostat operates smoothly and safely. Double-check each connection before powering on to avoid issues. Additionally, understanding the electric power generation capabilities of your system can help you optimize performance and safety. Knowing the wiring standards used in your setup can also assist in making accurate connections and avoiding potential hazards. Recognizing the system wiring configurations can further reduce the risk of miswiring. Being familiar with system wiring standards can help you identify potential mismatches early in the process, especially when working with diverse home decor styles that may influence wiring setups.
Verify Compatibility Before Wiring
Before connecting your wires, verifying that your smart thermostat is compatible with your existing system is essential. Check your current wiring setup and compare it to the thermostat’s specifications to confirm the terminals match. This step helps optimize energy efficiency and maintains user comfort. Confirm that the wires you have correspond to the required terminals, such as R, C, W, Y, or G, and that no extra wires could cause conflicts. If your wiring differs, you might need an adapter or specific wiring modifications. Skipping this verification can lead to poor system performance and energy waste. Taking the time to verify compatibility guarantees your smart thermostat will operate smoothly, providing reliable control over your heating and cooling, ultimately enhancing both energy efficiency and user comfort. Considering wiring safety and proper setup is also crucial to prevent potential electrical issues.
HVAC wiring diagram for smart thermostat
As an affiliate, we earn on qualifying purchases.
As an affiliate, we earn on qualifying purchases.
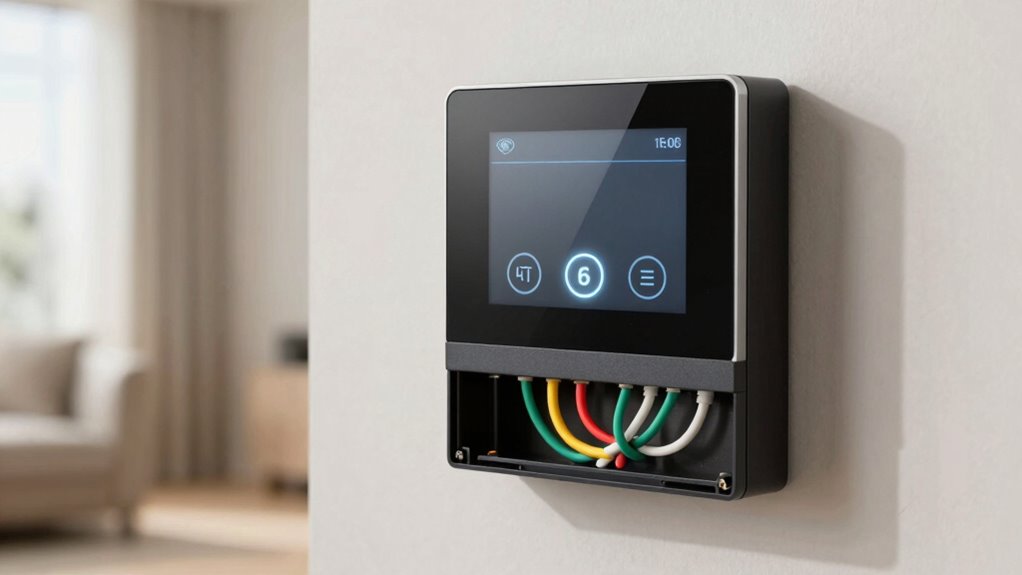
Which Wires Do You Need for a Smart Thermostat?
To install a smart thermostat, you’ll need to identify the wires already connected to your existing thermostat. These wires control your heating and cooling system, and their types determine compatibility. Typically, you’ll see some common wires, including:
- R or Rh (power from the transformer)
- W (heat)
- Y (cooling)
- G (fan)
- C (common wire for continuous power)
Having the right wires guarantees your smart thermostat can optimize energy efficiency and provide an intuitive user interface. If your system has extra wires or different labels, check compatibility before proceeding. Without the necessary wiring, your thermostat may not function correctly, limiting energy savings and control options. Knowing which wires you need helps you make an informed upgrade, maximizing comfort and efficiency. Additionally, understanding your system’s beetroot recipes can help if you’re considering smart home integrations for kitchen appliances or smart lighting in your cooking area. Conducting a wiring assessment can also help identify any potential issues before installation.
When in doubt, consulting measurement tools to assess your wiring setup can ensure a seamless and safe installation process.
Troubleshooting Wiring Compatibility Problems

Even if your wires match the typical colors and labels, compatibility issues can still arise. You might find your smart thermostat isn’t communicating properly, leading to inconsistent heating or cooling. To troubleshoot, start by verifying that your wiring matches your thermostat’s specifications, guaranteeing essential wires like Rc, Rh, or C are connected correctly. Mismatched or missing wires can hinder energy efficiency and disrupt user comfort. Check for loose connections or damaged wires, as these can also cause problems. Sometimes, older wiring systems lack the necessary signals for advanced features, so you may need an adapter or professional help. Addressing wiring compatibility guarantees your smart thermostat functions efficiently, saving energy and maintaining a comfortable environment. Troubleshooting thoroughly helps you avoid future issues and maximizes your thermostat’s benefits.
How to Use Wiring Diagrams to Confirm Compatibility
When using wiring diagrams to confirm compatibility, you need to understand the symbols that represent different wires and components. Make sure you match the wires correctly according to the diagram, paying attention to color codes and labels. Also, verify that your power supply matches the thermostat’s requirements to avoid any issues.
Interpreting Wiring Symbols
Understanding wiring symbols is essential for guaranteeing your smart thermostat will work with your existing system. When reading wiring diagrams, look for symbols that represent different components like transformers, switches, or control boards. Recognizing these symbols helps you verify compatibility before installation. Pay attention to:
- Color coding, which indicates specific functions or wire types
- Wire gauge markings, ensuring wires can handle the required current
- Symbols for power, control, and communication lines
- Connections labeled for common, R, or C terminals
- Indicators for switches, relays, or sensors
Mastering these symbols allows you to match your existing wiring setup with the thermostat’s requirements confidently. Proper interpretation prevents errors and ensures a seamless integration of your smart thermostat into your home system.
Matching Wires Correctly
To make sure your smart thermostat connects properly, you need to match the wires from your existing system to the diagram’s labels and symbols carefully. Use the wiring diagram as a guide to identify each wire’s purpose, ensuring it aligns with your thermostat’s user interface. Proper matching prevents energy loss and maximizes efficiency. Cross-reference your wires with this table to confirm compatibility:
| Existing Wire | Thermostat Label |
|---|---|
| Red | R (Power) |
| White | W (Heating) |
| Green | G (Fan) |
| Y (Yellow) | Y (Cooling) |
Matching wires accurately helps your system run smoothly, saving energy and improving your user experience. Double-check before installation to avoid future issues.
Confirming Power Compatibility
Before powering up your smart thermostat, it’s important to verify that the system’s power supply matches the device’s requirements. Use wiring diagrams to confirm compatibility by checking voltage, current, and wire types. This guarantees maximum energy efficiency and maintains user comfort. When reviewing diagrams, look for:
- Voltage ratings matching your system (e.g., 24V, 120V)
- Correct wire gauges supporting current flow
- Proper terminal connections for power sources
- Presence of dedicated power lines for reliable operation
- Compatibility with existing wiring configurations
When and How to Upgrade Your Wiring for Smart Thermostats
If your current thermostat wiring doesn’t support smart thermostats, upgrading the wiring is often necessary for proper functionality. You should consider upgrading when you want to improve energy efficiency and get a better user interface. Start by turning off power to your HVAC system and removing the existing thermostat. Check your wiring setup against the smart thermostat’s requirements, which may include adding or replacing wires to support features like Wi-Fi or advanced controls. If you’re unsure, consulting a professional guarantees the upgrade is done safely and correctly. Proper wiring not only guarantees your smart thermostat works seamlessly but also maximizes energy savings and enhances user experience. Upgrading your wiring is a vital step toward smarter, more efficient home climate control.
Popular Smart Thermostat Brands and Their Wiring Needs
Different smart thermostat brands have specific wiring requirements that can influence your installation process. Some brands prioritize energy efficiency and offer user-friendly interfaces, but their wiring needs vary. For instance, Nest thermostats often support common wire setups but may require additional wiring or a C-wire for maximum energy efficiency. Ecobee models sometimes include built-in power adapters, reducing wiring complexity. Honeywell offers flexible wiring options suited to older systems. Learning about these differences helps you choose a brand that fits your existing setup and enhances energy savings. Keep in mind, your wiring compatibility will impact installation ease and the user interface experience. Here’s a quick look at popular brands:
- Nest: Supports common wiring, possible need for C-wire
- Ecobee: Built-in power adapters, minimal wiring
- Honeywell: Flexible wiring options
- Emerson: Compatible with various wiring setups
- Lux: Easy installation, basic wiring requirements
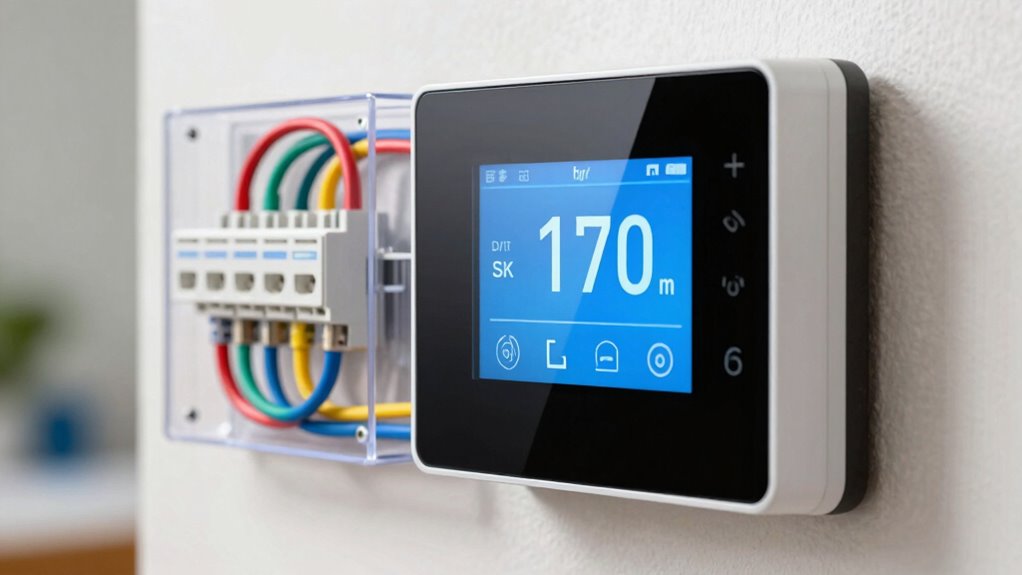
Do You Need a C Wire? Power Supply Tips for Smart Thermostats
A C wire provides continuous power to your smart thermostat, ensuring it stays connected and functions properly. If your system lacks a C wire, you might need alternative power solutions or modifications. Understanding how the C wire works helps you determine what’s best for your setup.
Understanding C Wire Function
Understanding the function of the C wire is essential when installing a smart thermostat, as it provides a continuous power source needed for many of these devices to operate reliably. Without it, your thermostat may struggle with wireless integration and energy efficiency. The C wire supplies steady power, guaranteeing your thermostat stays connected and responsive. Here’s what it does:
- Powers Wi-Fi modules for seamless wireless integration
- Keeps the thermostat functioning without batteries
- Assures consistent communication with your HVAC system
- Supports advanced features like remote control and scheduling
- Maintains energy efficiency by avoiding power fluctuations
Knowing the C wire’s role helps you determine if your system needs one or if alternative power options are necessary, guaranteeing reliable operation and smarter energy use.
Alternative Power Solutions
Wondering whether your smart thermostat needs a C wire? If your system lacks one, don’t worry—alternative power solutions can keep your device running efficiently. Many smart thermostats offer options like power adapters, batteries, or power sharing with existing wiring, guaranteeing energy efficiency and reliable operation. These solutions help maintain user comfort by preventing power interruptions that could disrupt your system’s performance. Using a power extender kit or a wiring hub can also optimize energy use while providing consistent power, especially in systems without a dedicated C wire. Always verify compatibility with your specific thermostat model before choosing an alternative power option. These methods guarantee your smart thermostat stays powered, helping you enjoy seamless control and improved energy management at home.
Tips for Safe and Accurate Wiring Inspection and Installation
Before you begin wiring your smart thermostat, make certain the power is turned off to prevent electrical shocks or damage. Safety is key. Use a voltage tester to confirm no current flows through the wires before handling them. Carefully inspect each wire’s color, which indicates its function, such as red for power or white for heat. When wiring, keep these tips in mind:
- Perform voltage testing to verify safety
- Match wire colors to the thermostat’s wiring diagram
- Label wires if necessary for easy identification
- Use a screwdriver to secure connections firmly
- Double-check connections before restoring power
Taking these steps helps confirm a safe and accurate installation, preventing issues down the line. Proper wiring inspection is essential for your smart thermostat’s performance.
Frequently Asked Questions
Can I Install a Smart Thermostat Without Professional Help?
You can install a smart thermostat yourself, but it depends on your comfort with wiring and basic technical skills. Doing so can boost your home’s energy efficiency and improve user convenience. Follow the manufacturer’s instructions carefully, turn off power before wiring, and double-check compatibility with your current system. If you’re unsure, consider professional help to ensure safe installation and maximum performance, saving you time and potential mistakes.
Are There Wireless Smart Thermostats That Don’T Require Wiring?
Yes, there are wireless smart thermostats that don’t require wiring, making DIY installation easier. Wireless alternatives use Wi-Fi or Bluetooth to connect directly to your home network, eliminating the need for traditional wiring. These thermostats often come with adhesive mounts or simple attachments, so you can set them up yourself without professional help. Just make certain your Wi-Fi is stable, and follow the manufacturer’s instructions for a smooth, hassle-free installation.
How Do I Know if My Current System Supports Smart Thermostats?
Imagine upgrading your thermostat, only to find it’s incompatible, leaving you frustrated. To check if your system supports smart thermostats, perform a compatibility check by inspecting your current wiring and wiring standards. Look for a C-wire, which powers many smart models. If you’re unsure, consult your HVAC system’s manual or contact a professional. Ensuring compatibility saves you time and prevents costly mistakes.
What Are the Risks of Incorrect Wiring During Installation?
Incorrect wiring during installation can pose serious risks to wiring safety, potentially causing electrical shorts or fires. It also leads to compatibility challenges, where the thermostat may not function properly or damage your HVAC system. To prevent these issues, double-check wiring diagrams, turn off power before working, and consider professional help if you’re unsure. Proper wiring ensures safe, reliable operation and maintains your system’s longevity.
Can Existing Wiring Be Modified for Smart Thermostat Compatibility?
You can often modify existing wiring for smart thermostat compatibility, but you must proceed with caution. Wiring upgrades are sometimes necessary to match the new thermostat’s requirements, and compatibility checks are essential before making changes. If you’re unsure or uncomfortable, it’s best to consult a professional. Mistakes can be costly or dangerous, so don’t skip thorough compatibility checks—they’re your safety and the success of your upgrade.
Conclusion
Think of your thermostat wiring like a musical instrument—when all the strings are in tune, everything plays smoothly. I once rushed to install a smart thermostat without checking the wiring, only to find it didn’t work. After a careful inspection and a few upgrades, everything harmonized perfectly. Take your time, follow the steps, and guarantee your wiring is right. With patience, you’ll turn your home’s climate control into a symphony of comfort and efficiency.